Bread Baking Corner
A masterclass in sourdough
Even the most experienced bakers might feel a little intimidated when it comes to this artisanal delight. But there’s no reason to be.
Thanks to I Love Cooking in Ireland, there’s now a YouTube masterclass by Patrick Ryan that explains how to create the perfect loaf of sourdough in a captivatingly accented and easy-to-follow way.
In the 16-minute video, Patrick will walk you through sourdough from the starter to the finished product – outlining helpful tips and tricks along the way to ensure your bread is tracking.
Of course, you’re encouraged to watch the video in full, but in case you’re low on time, we’ve outlined the knead-to-know basics for all the carb-lovers out there.
The Starter
You may have heard the words ‘sourdough starter’ being thrown around when it comes to bread baking – it sounds like a much more complicated product than it is.
Sourdough starter is simply flour and water that’s been left to ferment with the natural good bacteria floating around in the air. All you need to make your own is flour, water, a baking scale, and time.
Starting with 50g of flour and 50g of water, mix your ingredients together in a bowl and leave them to sit at room temperature overnight. Each day you’ll be required to feed the starter with more flour and water and throw portions of it away until you’re left with a bubbling, active, and sour-smelling starter that’s ready to bake with (this should happen around day 7).
Your starter can be kept alive by frequent feedings or by storing it in the fridge and feeding it a couple of days before you bake your bread. Just be sure to never use all the starter to bake with so you can continue to feed and grow it without starting from scratch.
The Dough
With some flour, salt, water, and starter, you’ll be on your way to making your dough. After mixing it all together, you’ll need to knead your dough until you acquire what Patrick refers to as the ‘windowpane effect’. When you can stretch the dough thin enough that it’s see-through but not tearing, you’ve arrived at the windowpane effect and can set your dough to rise.
Be warned, the dough-making stage is not to be rushed. The dough will need to rise for four hours before being punched down and left to prove again for another three and a half hours. Grab a book, put on some music, play your favourite television show – making good sourdough is all about being in it for the long haul.
The Finish Line
By the time you’re ready to put your first loaf in the oven, you’ve invested at least eight days into it. Don’t throw it all away now by being in a rush to get it baked.
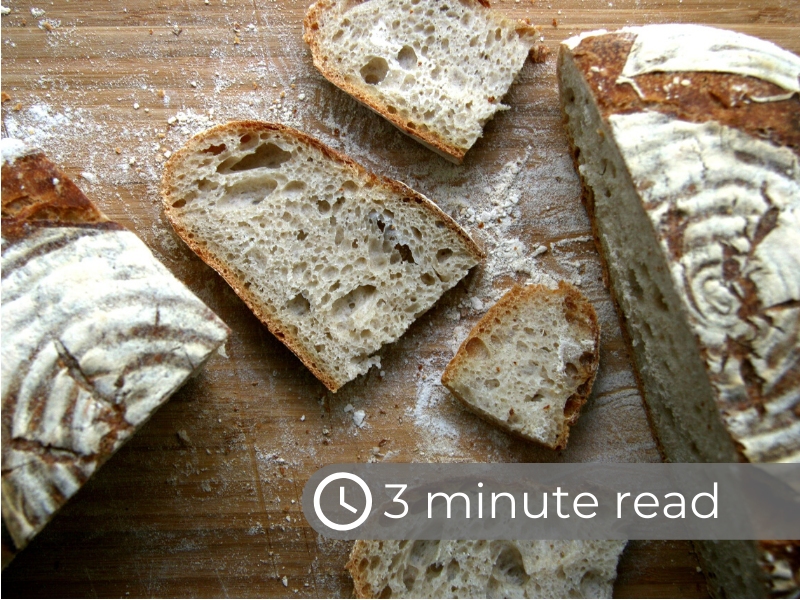
Take your time and preheat your oven to a hot 230 degrees with an oven-safe dish in the bottom of it. While it’s preheating, boil some water in the kettle and slice or etch a cool design into the top of your round sourdough loaf. Back in the days of communal ovens, your bread design was the only thing distinguishing your loaf from all the rest, so think of this as your baked-on signature.
When the oven is ready, pour that boiled water into the dish you heated up in the oven to create some steam, then put your loaf of bread in with it. Bake for around half an hour or until you get a good solid crust and the loaf sounds hollow when you tap on the base of it.